
Welcome back for Project #3 in A Very Crafty Christmas!!
If you're like me, you are long on ideas but short on funds and time to do them. This next project is a bit more complicated than the others, but well worth the extra effort! And, it is still a very inexpensive craft.
Without further ado...
Project #3...
Fabulous Picture Frames!!!

These super-cute frames are just ordinary wooden frames from A.C. Moore spruced up with a bit of scrapbooking paper and, you guessed it, Mod Podge!
 Here's what you need to get started:
Plain wooden frame (I used one with a 4X6 opening, but they can be any size)
Paint brush
Mod Podge for Paper (I really should get an endorsement deal or something for all these plugs!!)
Bone folder
Scrapbooking paper
Sanding Block
Ruler
Pencil
Scissors

2. Measure the "margin" you need to cover the inside edge of the frame as well - that way no wood will show around the picture.
 3. Cut the outside edges of the paper. Using a paper cutter makes it very easy to get straight cuts!
6. Use the bone folder and a ruler to score the edges so they crease right around your frame. (Sorry, this was a two-handed step, I don't have any pics of this!)


9. Let the mod podge dry as directed on the bottle.
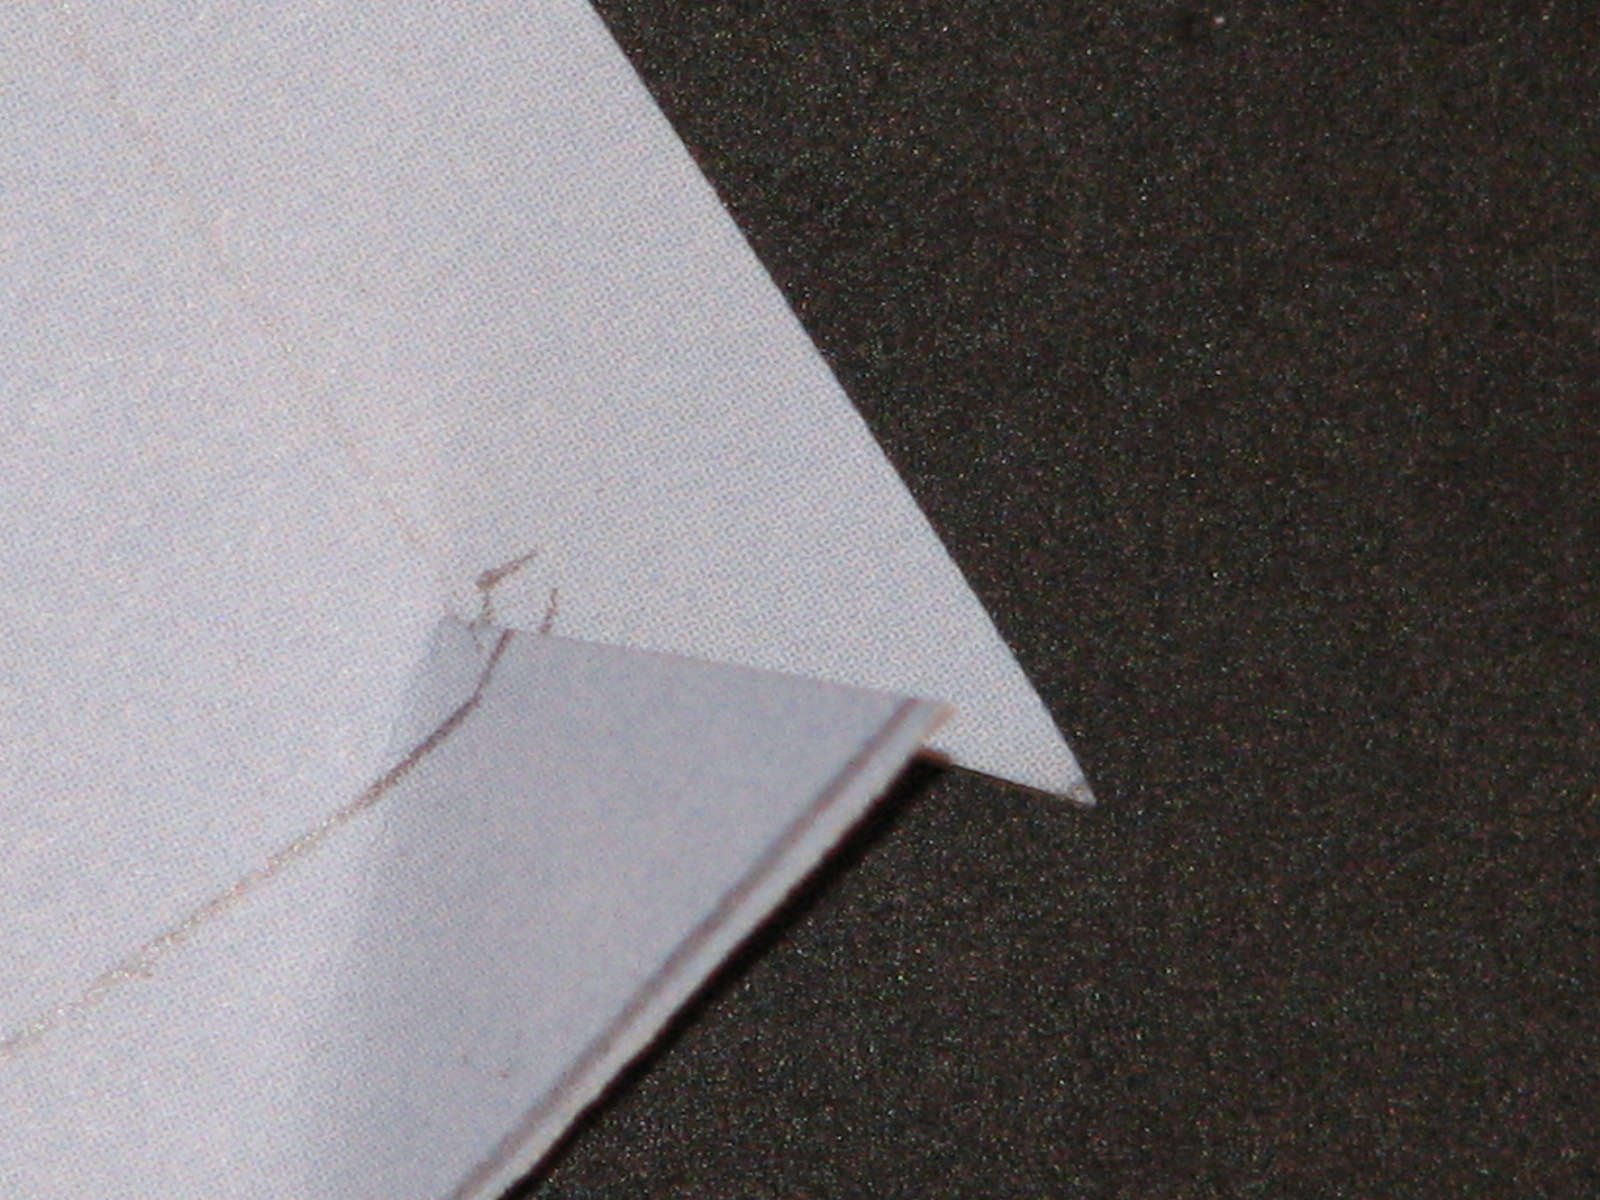
10. Sand away any excess paper on the inside and outside edges of your frame.
11. Apply a few coats of Mod Podge to the newly-covered frame to protect it. (let dry in between coats!)
12. Add your favorite pic and enjoy!

You can use the paper you cut from the middle of the frame to make a cute gift tag.
Enjoy!!
Happy Crafting, everyone!
2 comments:
Don't you just love mod poge.. Besides the glue gun, it is the greatest invention for crafters :)Your frames turned out great!!
~MiaB
www.mamamiasheart2heart.com
MiaB,
I agree that those tools are the best! If you give it a try, let me know!
Kristi
Post a Comment