Showing posts with label crafts. Show all posts

Wednesday, December 21, 2011

A Very Crafty Christmas Project #3...


Welcome back for Project #3 in A Very Crafty Christmas!!

If you're like me, you are long on ideas but short on funds and time to do them. This next project is a bit more complicated than the others, but well worth the extra effort! And, it is still a very inexpensive craft. 

Without further ado...

Project #3...
Fabulous Picture Frames!!!


These super-cute frames are just ordinary wooden frames from A.C. Moore spruced up with a bit of scrapbooking paper and, you guessed it, Mod Podge!


Here's what you need to get started:
Plain wooden frame (I used one with a 4X6 opening, but they can be any size)
Paint brush
Mod Podge for Paper (I really should get an endorsement deal or something for all these plugs!!)
Bone folder
Scrapbooking paper
Sanding Block
Ruler
Pencil
Scissors


1. Trace your frame onto the BACK of the paper, leaving a bit of a "margin"(use your ruler to determine the thickness of the sides) - this extra should be enough to wrap around the sides of your frame to make it look super cute from the side.

2. Measure the "margin" you need to cover the inside edge of the frame as well - that way no wood will show around the picture.
3. Cut the outside edges of the paper. Using a paper cutter makes it very easy to get straight cuts!
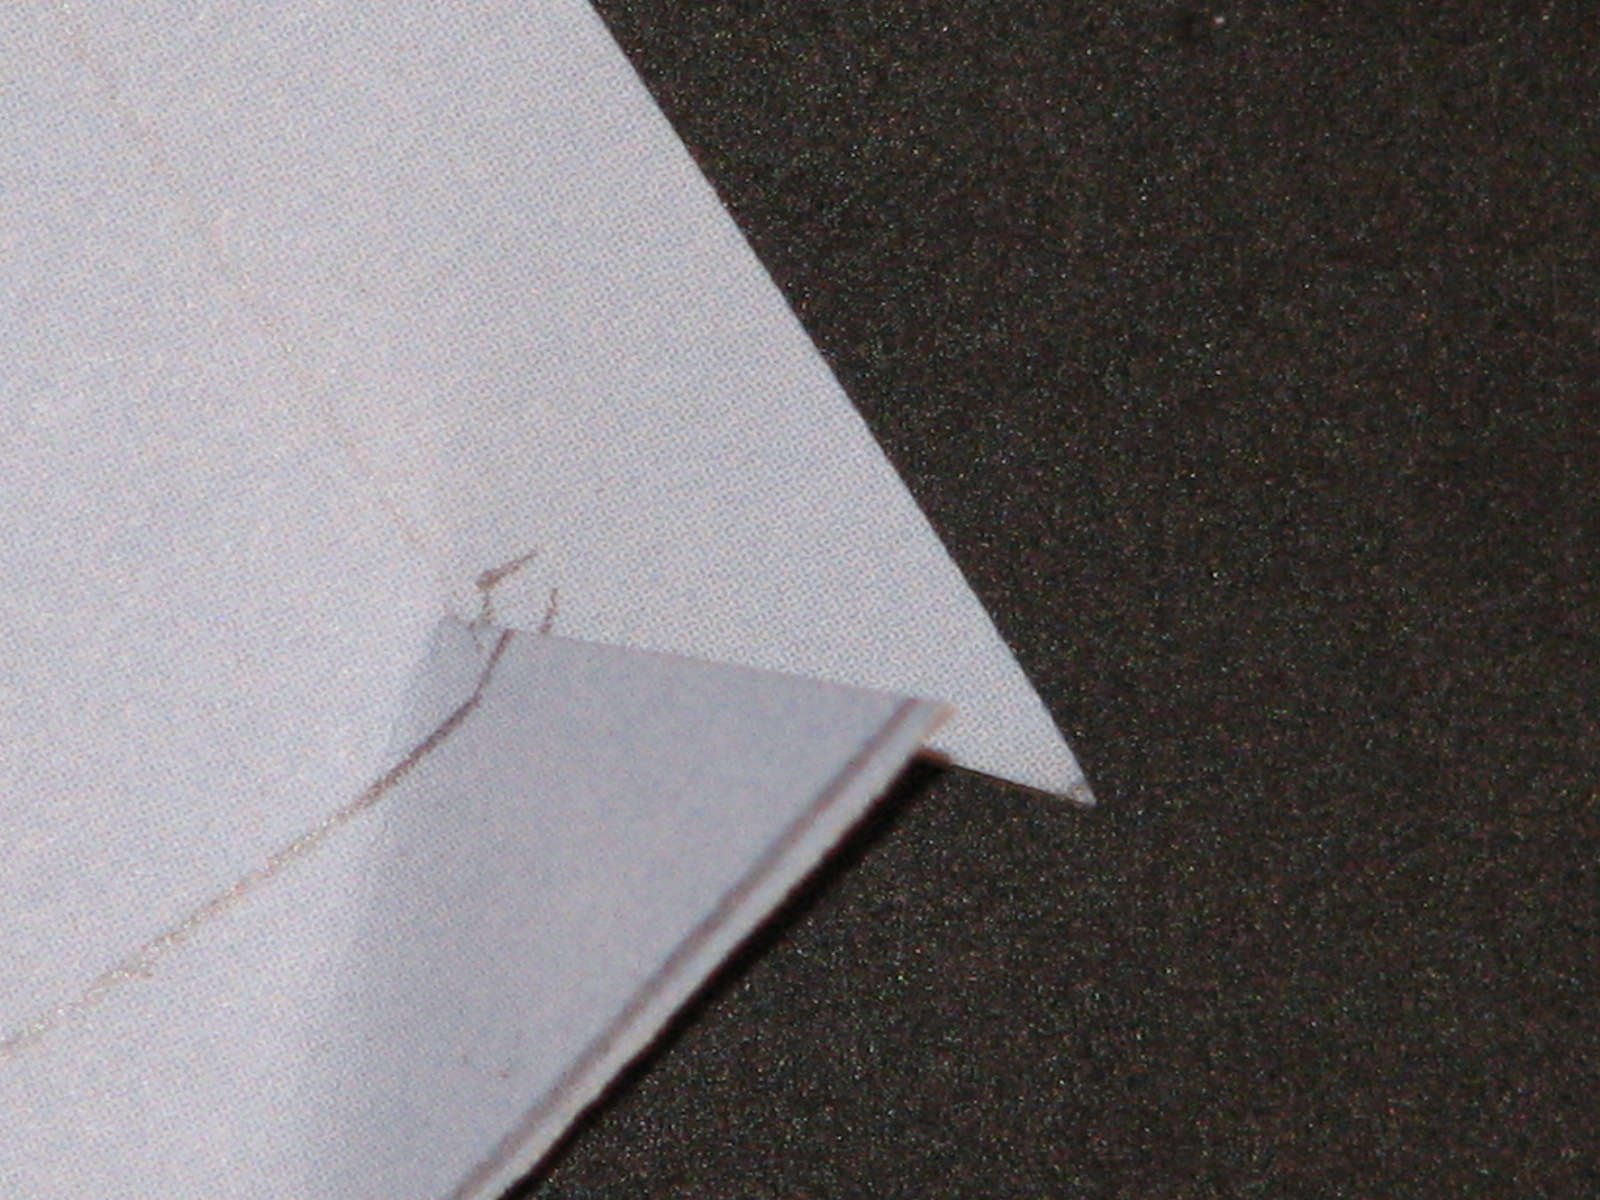
4. Cut the middle out of your paper. REMEMBER: use your "margin" line, NOT the frame line.
5. Using a small scissors, cut a diagonal line from the corner of your margin line to the corner of the frame line. This will make it simple to miter the corners of your frame, making it look neat and tidy!

6. Use the bone folder and a ruler to score the edges so they crease right around your frame. (Sorry, this was a two-handed step, I don't have any pics of this!)
7. Lay your frame inside the folded edges to check the fit. Adjust the folds if necessary.
8. Apply mod podge to the wrong side of the paper, and then carefully lay your frame on top. Fold the edges around the sides of your frame, being careful to neatly fold the mitered corners.

9. Let the mod podge dry as directed on the bottle.

10. Sand away any excess paper on the inside and outside edges of your frame.

11. Apply a few coats of Mod Podge to the newly-covered frame to protect it. (let dry in between coats!)


12. Add your favorite pic and enjoy!


You can use the paper you cut from the middle of the frame to make a cute gift tag.

Enjoy!!

Happy Crafting, everyone!

Wednesday, December 14, 2011

A Very Crafty Christmas Project #2...


Welcome back for another easy and inexpensive Christmas Gift idea... I was going to wait until Friday to post this, but then I looked at the date...only 11 days 'till Christmas...Let's get crafting everyone!!! 


Project #2:


Photo Album


Supply List:
1 cheap Photo Album (Don't worry about what the cover looks like - you are going to cover it up anyway!!)
Mod Podge for Paper Matte Finish (this really does work better for paper and it costs the same as the other stuff)
A paintbrush or sponge brush to apply the Mod Podge
Scrapbooking papers and embellishments


Instructions:


1. Cut front cover paper to size. 
2. Brush the Mod Podge onto the back of the paper (be sure to get the edges!).
3. Gently place paper on the cover of the album.
4. Use your hand (or a rolling pin) to push out any bubbles from the center out to the edges.
5. Let the Mod Podge DRY!!! (Trust me! Impatience leads to ruin with this!)
6. Embellish to your liking. I added paper strips in a coordinating color. You could use ribbon, buttons...the possibilities are endless!!
7. Brush several coats of Mod Podge over top, letting dry between coats. This will protect the cover and really adhere it to the photo album.
8. Repeat the steps for the back cover!


There you have it, a beautiful, custom photo album ready to fill with pictures of your family!


More easy-peasy projects to come...


Linking up:

Photobucket>

Wednesday, December 07, 2011

A Very Crafty Christmas (Project #1)...

Every Christmas I dream of making a homemade, meaningful Christmas present for every person on my list. With homeschooling, (and now babysitting) however, I find that my "free time" to actually make my ideas come to life is very fleeting.


Reality check!!!


Over the next few Fridays, I'll be posting some easy (as in, if I can do this there's really no way to mess this up) projects you can make with a minimum investment (ok, these projects are cheap, people!).


Project #1:
Snowflake Wreath


Supply list:
Glittery snowflakes [purchased after Christmas last year (for less than $1) at Wal-Mart]
Hot Glue Gun
Sheer ribbon [found at Dollar Tree!!!]
Styrofoam Wreath Form [another DT find!!]


Attach the ribbon you will use to hang the wreath. (Do this first, trust me.) Wrap your wreath with the ribbon and hot glue (or pin) in place. Arrange the snowflakes around the wreath and hot glue them down. That's it! Now sit back and enjoy your beautiful creation.


Total cost: Less than $4 for glittery wonderfulness! (is that a word??)


Stay tuned for more easy-peasy gift ideas!


Linking up here:


and here...
Manger Mondays...This Gal's Journey

Followers